Sync Obsidian notes between iOS and PC.
Note-taking Obsidian Markdown iOSObsidian is a great note-taking application. It acts as your second brain, where notes are connected through links, much like the human brain works.
Moreover, it uses a local folder to store the notes in plain-text Markdown format, making it future-proof and giving total control over your knowledge base.
Since the files are stored locally, you can use your methods of syncing these notes over your devices or use the excellent (but paid) Obsidian Sync subscription.
This article is a guide for people who have a Linux / Windows desktop and want to sync their notes with their iPads & iPhones, to get access to all your notes on the go!
macOS / Android users can take a look at this article instead > Sync your notes across devices {: .notice}
Windows + iOS #
The easiest way to set up sync, in this case, would be to use iCloud Drive.
The free version offers 5GB storage, which should be more than enough to store all your notes, provided you do not use it already for images or have a paid storage plan. {: .notice--info}
-
Install Obsidian on your PC and iOS device. (duh)
-
Install iCloud Drive on your desktop from the Microsoft Store.
-
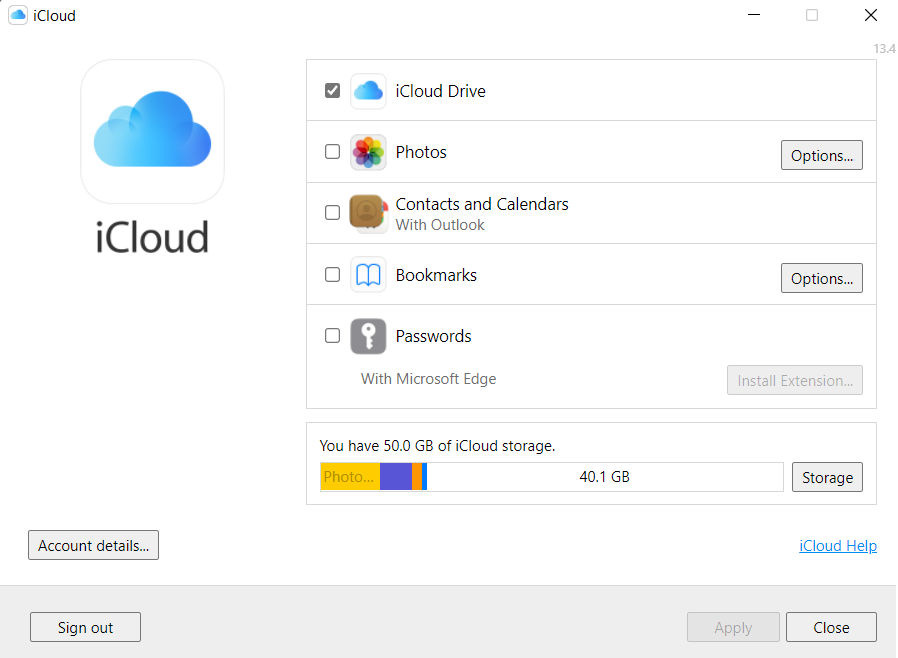
Open the application and Enable the iCloud Drive option.

-
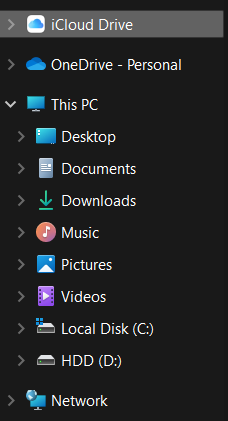
You should now have an access to iCloud Drive in Windows Explorer.

-
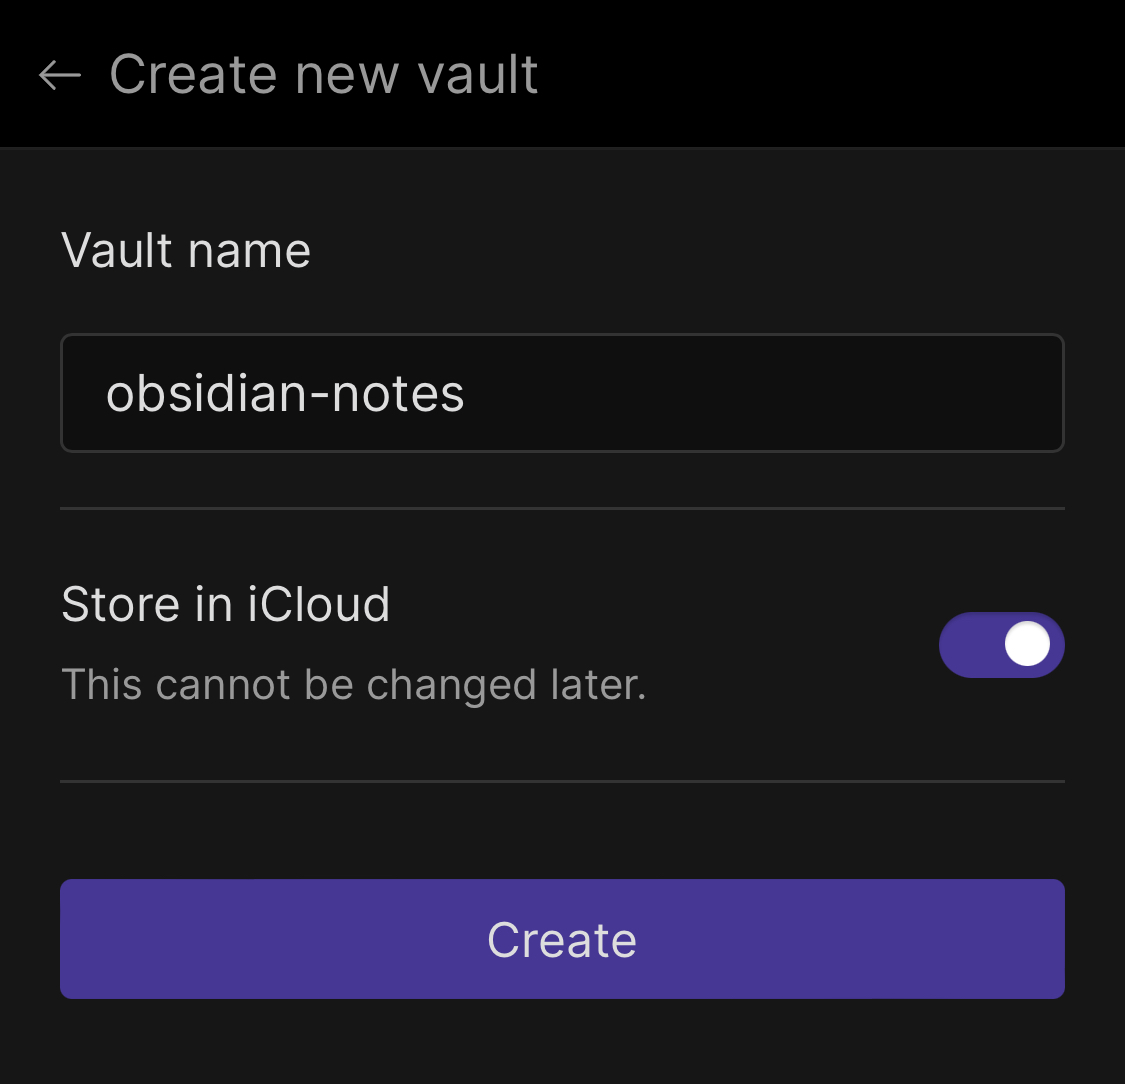
Open Obsidian on your iOS device, and "Create new vault".
Vault is nothing but a folder where all your notes and preferences will be stored. You can create multiple vaults to store different categories of notes, think of them as different notebooks. {: .notice}
-
Give a name to your vault and select the "Store in iCloud" option.
(If you have an existing vault in your PC, enter the same name here.)

-
Wait for the iCloud to sync on your PC and you should see the "Obsidian" folder containing the vault directory. To migrate your existing notes, copy all files from your existing vault to that directory.
-
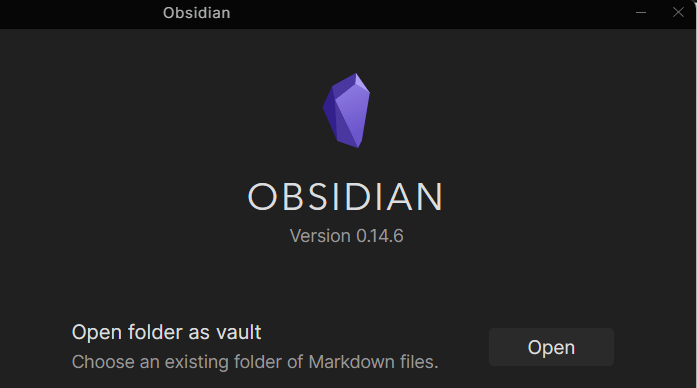
Open this directory as an existing vault in your Desktop app.

-
Voila! Add or update notes and see them instantly sync across your devices.
If you do not want to use iCloud Drive, take a look at the guide below (It is for Linux, but the steps are pretty much the same).
Linux + iOS #
Here's where things get more interesting, as there is no simple way to sync iCloud Drive on Linux. Fortunately, we can use Git instead!
-
Let's start with creating a GitHub repository. It can be either public or private, based on your preferences.
-
Clone the empty repository into your system.
git clone https://github.com/<your_username>/<your_repo_name>-
Copy your existing notes (if any) to this directory, and open this folder as an existing vault in the Obsidian app on your linux.
-
Install the Obsidian Git plugin, which will automatically push and pull changes to our repository.
-
From within Obsidian Go to "Settings" -> "Community plugins" -> "Browse", search for "Obsidian Git", install and enable.
-
This completes the desktop setup, and now we need to figure out how to get these files on our iOS device(s).
-
There are a few ways to clone a Git repository on our iOS device. Let's take a look at some of them:
Using iSH #
-
iSH is a project to get a Linux shell environment running locally on your iOS device (yes, you read that right, it's Linux running on iOS!)
-
Install iSH on your iOS device from the App Store.
-
Create a new vault in the Obsidian iOS app, and uncheck the "Store in iCloud Drive" option.
-
We can now mount this vault directory in our iSH app. The next steps should feel right at home if you're comfortable with the Linux shell.
-
Create a new directory to mount our ios folder.
mkdir <your_vault_name>- Mount the location where your vault is located (e.g
On My iPhone/Obsidian/<your_vault_name>)
mount -t ios-unsafe . <your_vault_name>/Quick Note (optional): If your fingers are tired from typing these commands on your possibly tiny touch input device, use ssh to login into your iSH terminal and easily run these commands from your desktop instead. Here's a quick step step-by-step step guide for running an ssh server. {: .notice--info}
#install the ssh tools and the ssh server.
apk add openssh
#create the host keys
ssh-keygen -A
#Set a password for root to protect your iOS device
passwd
#Allow SSH to log in as Root
echo 'PermitRootLogin yes' >> /etc/ssh/sshd_config
#Start the SSh
/usr/sbin/sshd
You should now be able to ssh to your device with username root and the password you typed. {: .notice--info}
- Install and configure Git in iSH.
#install git
apk add git
#config username and email
git config --global user.name "<your_name>"
git config --global user.email "<your_email>"
#mark directory as safe
git config --global --add safe.directory /root/<your_vault_name>
#store passwords to avoid entering on every push
git config --global credential.helper store- We're getting close, let's clone our remote repository in our mounted folder.
#remove the obsidian config directory to allow cloning
rm -rf <your_vault_name>/.obsidian
#clone our repository
git clone https://github.com/<your_username>/<your_repo_name>- And we're done, to get the latest changes do:
git pull- To push your changes to remote:
git add .
git push
Note: iSH is known to sometimes freeze when running on a large git repository.
A known workaround is to config git to run single-threaded. Also, look at git gc --aggressive and Remove Commit History to make your notes repo lightweight.
{: .notice--warning}
git config --global pack.threads "1"Pros #
- It's free.
- You have access to the full git functionality.
Cons #
- iSH does not support Shortcuts. (that can be used to streamline the sync process even further.)
- The git commands may be less performant in iSH.
- The pull and push will have to be done over the command line manually every time a sync is needed. That might be cumbersome if you're a persistent user.
Using Working Copy #
Working Copy is a powerful Git client for iOS. It lets you clone the repository, and commit changes, but pushing and other features are paid. The free version is a good way to avoid the hassle of maintaining git on your iOS device and store a "read-only" copy of all your notes.
Credits to rsteele.
- Install Working Copy on your iOS device.
- Create a new vault in the Obsidian iOS app, and uncheck the "Store in iCloud Drive" option.
- Clone your repository in Working Copy through the straightforward steps provided in the application.
- Once cloned, click on your repository name, share and select "Setup Folder Sync"
- Select the location where your vault is located (e.g
On My iPhone/Obsidian/<your_vault_name>) - The folder will now be in sync with the repository contents i.e. your notes.
- Whenever you update your notes on your desktop, just open Working Copy and pull the changes.
Pros #
- It's fast and straightforward, and can easily handle a more extensive repository of notes.
- It does not require command-line operations (if that is cumbersome).
- It supports Apple Shortcuts, you can configure Working Copy to pull when the Obsidian app is opened, and add & push on app exit. That's quite the automation.
Cons #
- Pushing requires a premium, meaning you cannot push the changes from your iOS device without a premium subscription. (essentially making a read-only copy of your notes.)
But we have a way around that too :)
Using Working Copy + iSH #
Both Obsidian Sync and Working Copy are well worth their money. This option is just an excellent free alternative! {: .notice--danger}
Armed with this knowledge, we can set up a workflow to use Working Copy as the main application for syncing, and use iSH to just perform the git push(ergo, the paid feature) once any changes are made. This allows for a completely free and operational sync solution. (Albeit you will have 3 applications for your note-taking, with how good obsidian is, it might just be worth it!)
-
Install both iSH and Working Copy.
-
Setup them in the same way as described above, with just one little difference - when mounting the folder in iSH, mount the
On My iPhone/Working Copy/<your_repo_name>instead ofOn My iPhone/Obsidian/<your_vault_name>. Since the git repo is already there, no need to clone the repository again in iSH. -
Sync (pull) your notes through Working Copy.
-
Once any changes are made to the iOS Device - add & commit through Working Copy.
Optionally, set up Shortcuts to pull, add and commit. {: .notice--info}
- Just do a
git pushthrough iSH in the end.
Use any of these methods to sync and take your notes everywhere (and never open them xD).